Showing posts with label spring. Show all posts

Tuesday, May 8, 2012

{Sweet treats for sweet teachers}

Because I'm a craft supply hoarder 'collector', I already had the mason jars, ribbon, and paper. All I had to do was buy the m&ms and print the tag. Sweet and simple gift in under 5 minutes.

I originally saw it here, and I love the treat jars they use, but I also figured why go out and buy something when the mason jars I had will work just the same.


Start with mason jars and candy. 


add your extra embellishments. I used a very wide satin ribbon I already had, jute, tags printed from here and my circle punches. 


I put my 3inch circle punch on the lid (under the ring) but it kept slipping off, so I used my 3in scallop punch and it worked just fine; tied a cute bow on the front with the ribbon; attached the tag with tute and wrote on the back of the tag so my boys' teachers knew who their gifts came from. Super easy and maybe 5 minutes!


For a little extra sweetness, you can print this poem I found here. I will be cutting it out, glueing it to red cardstock and having it be a card. 

Cost breakdown...hold your breathe on this one it's painful ;)

Mason jars- FREE (on-hand in my 'collection')
Ribbon- FREE (on-hand)
Jute- FREE (on-hand)
Paper and tags- FREE (mostly...just printer ink...and my printer sucks so I used my neighbers!)
M&Ms- $2.89 each (sale price)

So each gift was around $3.00!

Monday, May 7, 2012

Because we LOVE teachers {tutorial}

I'm hoping to post a quick tutorial of each teacher gift I make everyday this week...not sure if I'll be able to pull it off or not, but I'll sure try.

Again, I want to show my appreciation but I also want to keep prices down. Here is another inexpensive way to show your teachers some love.

I originally saw this idea here. Do you follow them?!? You MUST! Jen, Jodie, and Jamie are amazing!

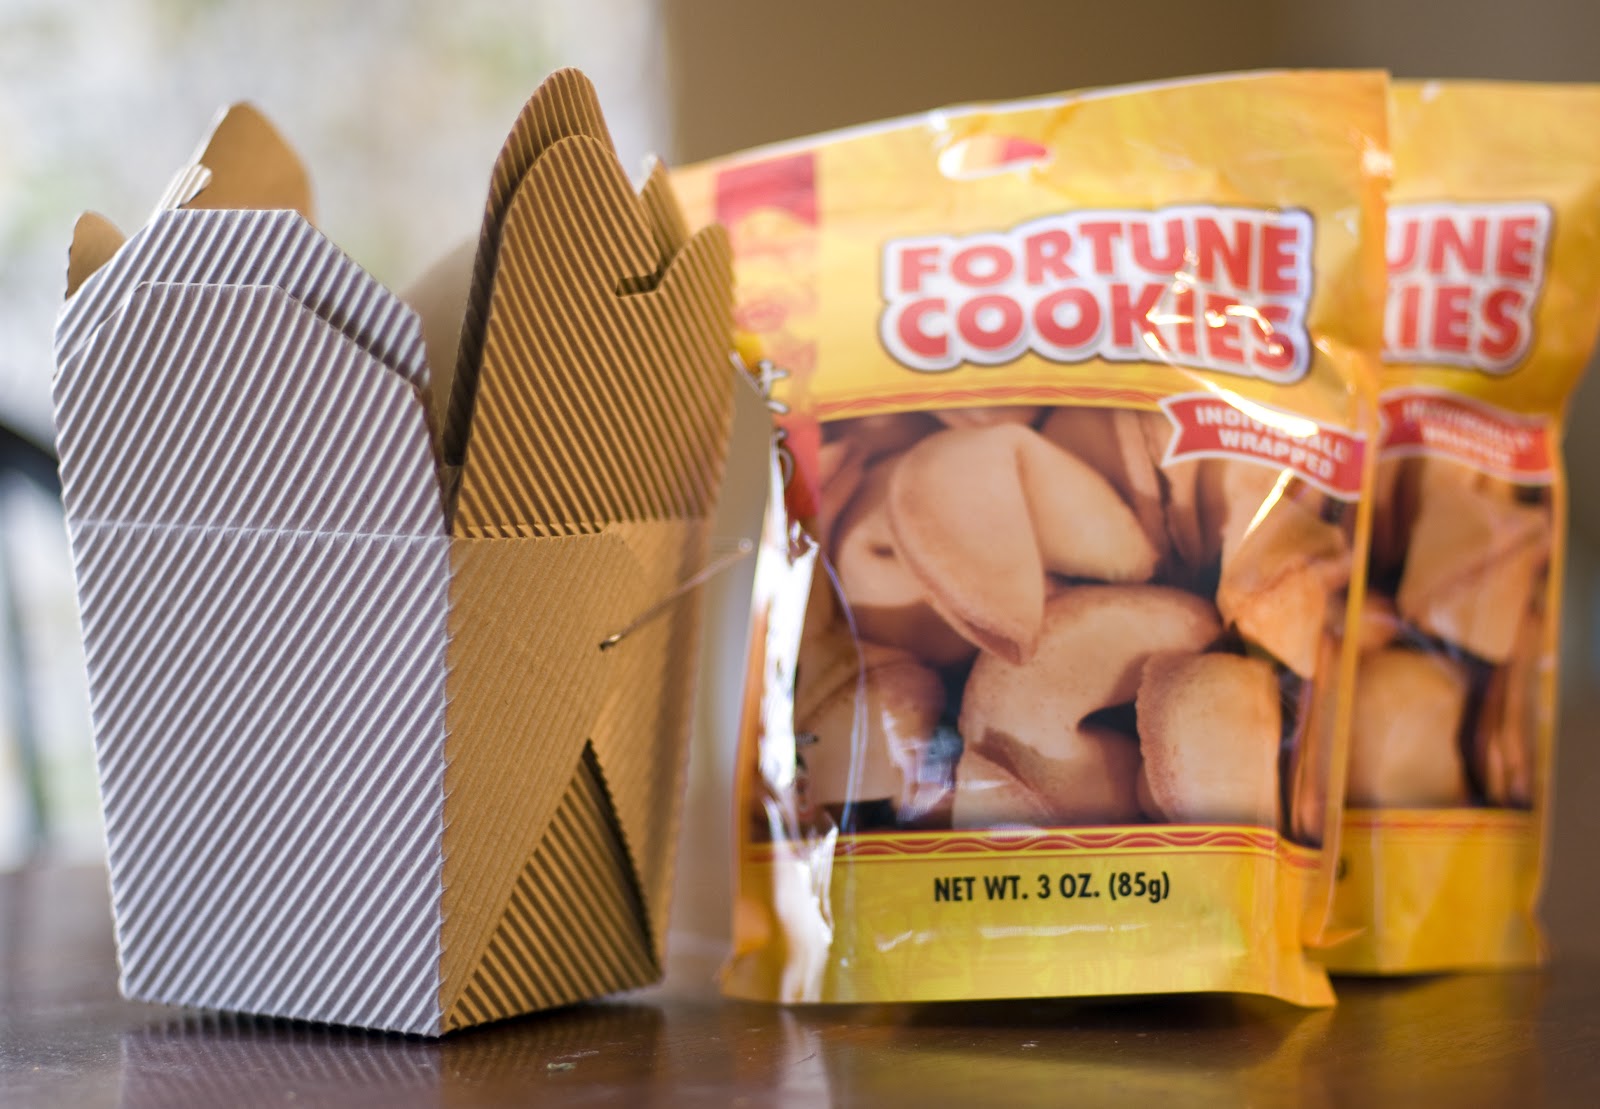
Supplies: chinese take-out boxes from your local craft store, bag of fortune cookies. I got 2, but only needed 1.

 At first I was going to leave them individually wrapped...


But with lil' helpers like this how could I keep it that simple?!?


I melted chocolate chips I had, 


and let me boys dip them half way. 


They then dumped added sprinkles. 


=)


put them in the bags and added some twine. 


Add a little ribbon for some extra color and the tag. The End. Simple, sweet, and cute. 

Cost: bag of fortune cookies $3.09
take-out boxes- $0.99
ribbon, jute, paper, chocolate chips, sprinkles, and tags-all on hand. 

So each gift was Under $2.50! AWEsome! 


Wednesday, May 2, 2012

{Target Tuesday, Tutorial and Teacher Appreciation}

It's no secret that Stacy and I are blessed with not only a fantastic school for our 'bubbas' to go to but also fabulous teachers as well.

Teacher appreciation week is coming up for us starting the week of the 7th, we thought we'd include a cute, inexpensive way to show your appreciation. Personal fact of the day- did you know that I (Angela) was a teacher for 6 years before being able to stay home with my lil' bubbas?


Everything was bought at Target, most of it in the dollar bins (one of our favorite places)!  In this case I'm lucky that I'm a craft supply hoarder collector and had several items to help complete the project. 


Here's what I used: Watering can, flower seeds, potting soil, burlap bag to put seed packets in, ribbon, washi tape (tashi-tape), chocolate candy making sticks, flower shaped stickers, gardening tools, and jute string.


I found these cute birds in the dollar bins...$2.50


Watering can...$1 you can also use the little pails and buckets that they have frequently. I had the lollipop sticks on hand!


Flower shaped stickers-I had them but they were $1.49 for 6! Flower seeds-I bought them in the garden section a few weeks ago for $1.89 only to find them in the dollar bins yesterday!


Gardening tools $1each


Ribbon from my 'stash'. 


I painted the lollipop sticks green with craft paint I had on hand and used the flower stickers. I didn't like that there was nothing on the back so I used 2 stickers for each flower. You could easily use scrapbook paper, felt, etc to make flowers too. 


I had treat bags that I used to put the potting soil in and tied them closed with jute string. 


I then stuck the garden stacks and a couple flowers into the bag of soil and tied the jute into a bow. 


After I added everything to the watering cans, I realized they were missing something. 


Again, thank you to Target for carrying washi-tape ("t-ashi tape) that I bought a few weeks ago. I added just a couple stripes...already better!


Then I added lots of ribbon to the handle...


I had cute little already cut tags and added a little note, "Thanks for helping me bloom this year!" 

Here's the breakdown of my cost: 

Watering can $1 x2
seeds $1.89 x2
Flower stickers $1.49
bird garden stacks $2.50
garden tools-$1 x4
Tashi-tape- on hand
soil-on hand
ribbon-on hand
treat bags-on hand
lolli-sticks-on hand
tags- on hand
burlap bags- on hand

$6.88 for each gift! 


Tuesday, May 1, 2012

{Spring Wreath Tutorial}

It's no secret that I love having a wreath on my door. But not just any wreath, a different one for every holiday or season and even ones that coordinate with my boys' birthday party themes.

With everything that I've been busy with, I've been quite the slacker lately and haven't had one up since February! What is wrong with me!?! It was long overdue!

My original inspiration for this burlap beauty came from Pinterest (always) but the actual tutorial can be found here. I will do my best to explain what I did, but if you get lost Laura's directions are easy to follow.

I went to my way-to-close-that I-go-almost-everyday local craft store to pick up a 16in wire wreath form, a 10yd long roll of burlap heaven garland and some cute little beaded flower-type picks. I also got a large (10-11in) wooden L (for my last name). 


Start looping the burlap through the wreath form. Make sure to loop through the top, middle, and bottom rims. To make it full, loop each rim a few times then push it all together. Continue around the whole form...or in my case until you run out and need to make another trip to the store for more burlap!


Here's where I changed up my wreath a bit. I love the one I saw on Pinterest, but wanted to have a cute filler wreath that wasn't holiday specific. I'm thinking this one will find a holding place inside my house when it is replaced for holiday wreaths.


Always great to have a cute little helper!


I used a dark teal for my L (big surprise...I say when all else fails or you can't decide, go with teal!) I had some jute string that I borrowed and haven't given back to Stacy around the house, that I used to tie the L on the form. I then weaved the beaded picks into the burlap. I didn't want to glue them down, incase I decide later to change the flowers to go with a specific season. 


Close up of the beaded flower picks. 


Finished and where it belongs...at least until the next holiday!